
Sourdough Pizza Dough
Ingredients
Makes 6 – 12” pizzas
Wet Ingredients:
- 360g active sourdough starter (60% water and 40% bread flour by weight)
- 357 grams water
- 3 tablespoons olive oil
- 1.5 tablespoons honey
Dry Ingredients:
- 750g Tony Gemignani’s California artisan type 00 pizza flour (Available at Central Milling)
- 2 1/4 teaspoons kosher salt
Morning: Making the Dough
- I time my sourdough starter feeding such that it is active in the evening on a Thursday. At that time, I make the dough, put it in the refrigerator and take it out on Saturday, cut it into 6 doughballs, and let it proof for about 5 hours at room temperature before starting the pizza baking.
- In a stand mixer with a dough hook attachment, combine all wet ingredients. Add flour so that it’s floating on top. Mix with dough hook on low initially to keep flour from scattering.
- As soon as a mass starts to form, add salt. Mix on higher speed. When dough has formed and is pulling off the sides, stop. If the dough is ragged, let it to sit for 5-10 minutes to allow further hydration of the flour and, if desired, you can knead the dough a few times on a floured surface to help incorporate any dry spots.
- Place dough in a bowl greased with olive oil, cover with plastic wrap and put in the refrigerator for two days. For example, put it in Thursday night and take out on Saturday around noon.
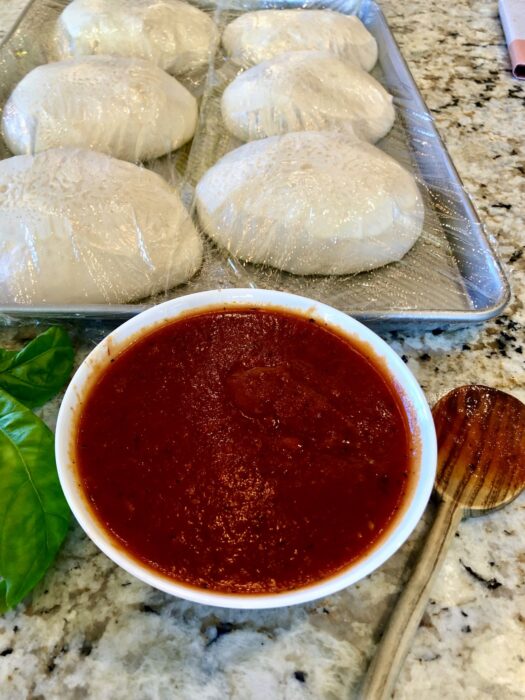
- Turn out dough onto lightly floured surface. Cut into six equal portions (you can weigh the entire ball of dough and divide by 6). Form each into a ball with a smooth top by pulling and pinching toward a single point on the ball, which becomes the bottom.
- Place balls (pinched side down) onto a large sheet pan that has been well greased with olive oil (or line the pan with parchment paper and grease the paper.)
- Spray or wipe olive oil on the tops of each ball to prevent plastic wrap from sticking. Cover with plastic wrap. Let sit about 10 hours at room temperature. The balls should expand over the course of the day.
- The proofing time will vary by season and room temperature. Take the dough out of the refrigerator earlier the colder it is. If it’s going too slow, you can leave it in a warm spot (e.g., outside in the sun or in a warm room) for an hour to give it a boost.
- The balls should have expanded, but not so much that they begin to seem flabby with a large bubble or two forming. If you’ve over-proofed, the crust will tend to stay whiter and the pizza will have a bit of an overly sour tang to it. If you don’t proof enough, the dough will be a bit too tough and want to contract back when you try to form it into a pizza.
Evening: Baking the Pizzas.
- Preheat oven to as hot as it will go (approximately 550F) for 45min to 1 hr. preferably with a pizza stone or steel.
- Gently place a ball of dough, seam side down, on a floured surface, Sprinkle flour lightly on top of the dough ball. Turn the dough over and generously flour the bottom, using your hand to coat the bottom entirely (this is the trick to getting the pizza on and off the peel and into the oven). Turn the dough ball back over (so top is up). Begin to press the center pushing it out and forming the pizza. Once it’s about 4-6” in diameter, gently pick up and drape over your fists rotating the pizza across your fists. The goal is to stretch out the edges without making the center too thin. If you’re having trouble, you can also just work the pizza flat on the surface stretch out sections of the edge with your fingers. The pizza should be about 12″ or so in diameter.
- Add toppings. Note, red sauce should be cool when added (if it’s warm or hot, it will melt the dough and make it very difficult to get it to slide off the peel and into the oven). I have better luck making the pizza on the floured cutting board and then scooping it up with my peel than making the pizza on the peel. However, my peel is very thin metal. If you’re having trouble, it is much easier to make the pizza on a sheet of parchment and slide the pizza with the parchment into the oven.
- In my oven at 550F, the pizza takes about 6 minutes to bake. Look for nice browning of the crust.
- Optionally, brush olive oil onto the crust and sprinkle with garlic seasoning before baking.